
South Florida may be known for its sunny weather, but that doesn’t mean it’s immune to occasional winter storms. When snow or ice accumulates on a shingle roof, it can slide off in large sheets, causing damage to anything below, including people, pets, vehicles, and landscaping. Installing snow guards on your shingle roof is a smart way to prevent this from happening. Here’s how to install snow guards on a shingle roof.
Snow guards come in many shapes and sizes, but the most common type for shingle roofs is a bar-style snow guard. These are typically made of metal, plastic, or rubber and are installed in rows along the lower edge of the roof. They work by holding snow and ice in place until it melts or evaporates, preventing it from sliding off the roof in a dangerous way.
The number of snow guards for shingle roofs you need depends on several factors, including the pitch of your roof, the amount of snow and ice you typically receive, and the size of your roof. A general rule of thumb is to install one snow guard for every 6-8 feet of roof edge, but you should consult with a professional to determine the specific needs of your home.
Using a measuring tape and chalk line, measure and mark the locations where you want to install the snow guards. Make sure they are evenly spaced and aligned with the edge of the roof. You may want to use a level to ensure that they are straight.
Using a drill bit that is slightly smaller than the screws that came with your snow guards, pre-drill holes where you marked the locations for the snow guards. This will make it easier to install the screws and reduce the risk of damaging your roof.
Place the snow guards over the pre-drilled holes and secure them in place with the screws that came with them. Tighten the screws just enough to hold the snow guards in place, but not so tight that they damage your roof. Repeat this process for each snow guard, making sure they are evenly spaced and aligned with the edge of the roof.
After installing the snow guards, check for any loose or damaged shingles. Snow guards can put extra pressure on the shingles, so it’s important to make sure they are secure and in good condition. If you notice any problems, replace or repair the shingles as needed.
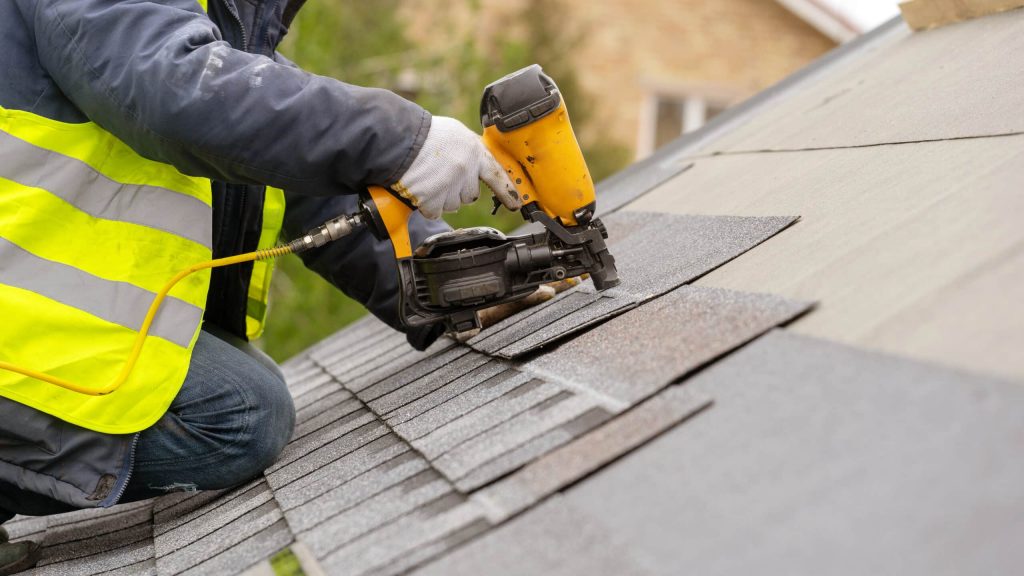
While installing snow guards on a shingle roof is a relatively simple task, it can be dangerous if you don’t have experience working on roofs. Consider hiring a professional to install the snow guards for you, especially if you have a large or steep roof – roofing companies in South Florida can help with this task.
Installing snow guards for a shingle roof is a smart way to prevent snow and ice from sliding off and causing damage or injury. With the right tools and a little bit of know-how, you can easily install snow guards on your own. If you’re not comfortable doing it yourself, don’t hesitate to hire a professional to do it for you. With snow guards in place, you can enjoy the winter weather without worrying about the safety of your home and loved ones.