
Fabricating sheet metal ductwork requires several different steps, depending on the type of project and whether you are creating a new design or working from a pre-existing pattern. In this guide, we’ll go over how to fabricate sheet metal ductwork from start to finish, including the materials and tools needed for each step.
Before you begin, you’ll need to gather the materials and tools necessary for Daytona sheet metal fabrication. The most common material used in sheet metal fabrication is galvanized steel, but other metals such as copper and aluminum can also be used. You will also need a variety of tools including shears, snips, hand files, drills, rivet guns, and hand crimpers/crimping tools.
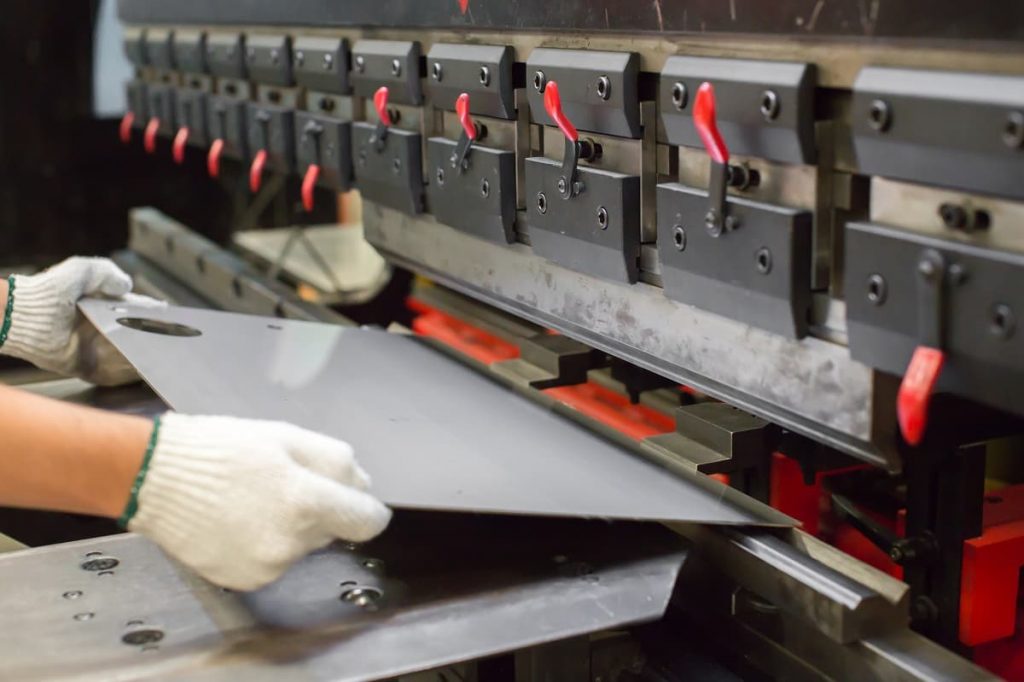
Once you have your materials and tools ready to go, you can start fabricating your ductwork. The first step is to mark out the various cuts for each section of the ductwork on a piece of sheet metal. This can be done using a ruler or another measuring tool and a marker, or you can use templates to make the job easier. After marking out your cuts, use either shears or snips to cut along the marked lines. Once all of the pieces are cut, use a hand file to smooth any rough edges.
The next step is to assemble each section of ductwork; this can be done with rivets, self-tapping screws, or solder. Using a rivet gun is the most common method of assembly, but you may also want to use a drill and self-tapping screws if your project requires more stability. Once all pieces are connected, use hand crimpers or crimping tools to secure the seams and joints.
Finally, seal the corners and edges of the ductwork with a quality sealant to ensure airtight construction. This is an important step as it will help eliminate air leakage, which can reduce efficiency and performance. Make sure to use a sealant that can withstand high temperatures; silicone-based sealants are often ideal.
Once the sealant has dried, your ductwork is ready to be installed. You can use a variety of materials to mount the ductwork depending on the type of substrate you are working with. For example, if you’re working with wood, then use screws and washers to affix it; for masonry or concrete, use fasteners like bolts or anchors. Once the ductwork is mounted securely, you can attach the ducts and vents to the main run with fasteners and insulation material.
Finally, test your work to ensure it meets all necessary codes and regulations. This can be done by using a manometer or other testing device to measure the pressure drop across the ducts. If everything is satisfactory, your sheet metal ductwork is now ready to use. Maintenance and cleaning should be conducted periodically, according to the manufacturer’s guidelines. Lastly, inspect for any wear or damage that may have occurred in transit and after installation.
If you want to know how to fabricate sheet metal, just follow the advice in this guide. By following these steps, you can successfully fabricate sheet metal ductwork for your industrial needs. First, make sure to calculate the size and shape of the ducts by using the appropriate formulas. Next, cut the pieces with a shear or saw and shape them with a brake. Then, assemble the pieces by spot-welding and sealing them with mastic. Finally, connect the ducts to the ventilation system and inspect them for any potential problems.
With proper installation, maintenance, and repair, sheet metal ductwork can last for many years. With these simple steps, you can create sheet metal ductwork of any size and shape that is necessary for your needs.